Backpacking checklist: the complete gear list for overnight trips
An overnight backpacking trip needs gear in seven groups: shelter and sleep, the pack itself, clothing (what you wear and what you carry), kitchen and water, navigation and safety, hygiene and first aid, and a few small essentials. The checklist below covers each group item by item, with a short note on what matters, so you can run through it the night before and leave nothing important behind.
How to use this checklist
It is written for a one- to three-night trip in three-season conditions, on maintained trails. Treat it as a starting point: drop what your trip doesn’t need, and add what your terrain, season or local rules require. Items marked optional are the first to leave at home when you want a lighter pack.
Every line also has a weight. If you are trying to carry less, read the base weight guide next: it shows how to add those weights up and where the grams usually hide.
The overnight backpacking checklist
Shelter and sleep
- Tent, tarp or hammockWith its stakes and guylines. Pitch it once at home to check that nothing is missing.
- Footprint (optional)Protects the tent floor on rough ground; many hikers skip it.
- Sleeping bag or quiltRated for the lowest temperature you expect, with some margin.
- Sleeping padIn the cold it matters as much as the bag: a higher R-value insulates better from the ground, around 4 or more for nights near freezing.
- Pillow (optional)An inflatable one, or a stuff sack filled with your spare clothes.
Pack
- BackpackFitted to your torso and sized to your gear; most overnight loads fit in 40 to 60 liters.
- Pack linerA trash compactor bag or a dry bag inside the pack keeps the sleeping bag and clothes dry, more reliably than a pack cover in steady rain.
- Stuff sacks or dry bagsA few, in different colors, to find things fast. Each one adds weight.
Clothing you wear
- Hiking shirtSynthetic or merino, not cotton, which stays wet and cold.
- Hiking pants or shorts
- UnderwearQuick-drying.
- Hiking socksWool or synthetic, already tested with your shoes.
- Trail runners or hiking bootsBroken in before the trip.
- Sun hat or cap, and sunglasses
Clothing you carry
- Insulating jacketA down or synthetic puffy for camp and breaks.
- Rain jacketIt doubles as your wind layer.
- Rain pants (conditions)Worth it in cold rain; often left home in summer.
- Warm hat and light glovesNext to nothing in the pack, a lot of comfort at camp.
- Spare socksOne dry pair, kept for the night.
- Sleep layerA base layer top and bottom that stay dry in the pack.
- Camp shoes (optional)A classic item to leave behind.
Kitchen and water
- Stove and fuelWeigh a used canister to see how much gas is left, and bring a margin.
- Lighter, plus a backupOr matches, in another pocket.
- Pot600 to 900 ml is enough for one person.
- Spoon or sporkA long handle reaches the bottom of food pouches.
- FoodEvery meal and snack, plus a margin (one meal or a few bars) for delays.
- Food storageA bear canister or hang kit where the area requires one.
- Water bottles or reservoirEnough capacity for the longest dry stretch: 2 to 3 liters on most trails.
- Water filter or purifierWith tablets as a backup in case the filter clogs or freezes.
Navigation and safety
- Map and compassPaper never runs out of battery.
- Phone with offline maps, or a GPSDownload the maps before you lose signal.
- HeadlampCharged, or with spare batteries.
- Knife or multitoolA small blade is enough.
- Fire starterWaterproof matches or a ferro rod, for emergencies.
- Emergency blanket or bivyA few dozen grams that can keep you warm if you are stuck.
- WhistleMany pack sternum straps have one built in.
- Sunscreen and SPF lip balmSun at altitude burns, even on a cool day.
- Satellite messenger or PLB (optional)For areas without cell coverage.
- Trip plan, left with someoneRoute, campsites and the time you expect to be back.
Hygiene and first aid
- First aid kitBandages, blister care, pain relievers, tape, and your own medication.
- TrowelFor catholes 6 to 8 inches deep, at least 200 feet from water, as Leave No Trace recommends.
- Toilet paper and a zip bagUsed paper goes out with you.
- Hand sanitizer
- Toothbrush and a small toothpaste
- Menstrual productsIf needed, with a bag to pack them out.
- Insect repellentDepending on the season and the area.
- Microfiber towel (optional)
Small essentials
- Phone and power bankWith the cable; a 10,000 mAh bank recharges a phone about twice.
- Trekking poles (optional)They also pitch many ultralight tents.
- Repair kitDuct tape, a needle and thread, patches for the pad and the tent.
- Trash bagEverything you carry in goes back out.
- ID, some cash, permit and car keys
- Earplugs (optional)A tent is not soundproof.
Why worn and carried clothing are listed apart
Backpackers separate what they wear while walking from what rides in the pack, because only the second weighs on your back. A rain jacket you put on at the trailhead and take off an hour later still belongs to the carried list: plan room for it in the pack.
The same split explains the usual way to compare packs: base weight, which leaves out worn clothing as well as food, water and fuel. The base weight guide walks through it with an example.
Last checks before you leave
- Check the forecast low for the night, not only the daytime high, and adjust the sleeping bag and insulating layer.
- Charge the headlamp, phone and power bank; download offline maps.
- Weigh the fuel canister and the food bag: they are what changes from one trip to the next.
- Leave your route and return time with someone at home.
- Check local rules: permits, campfire bans, food storage and where you may camp.
The Ten Essentials, covered
The Ten Essentials, a list first published by The Mountaineers, is the safety core of any hiking pack: navigation, a headlamp, sun protection, first aid, a knife, fire, an emergency shelter, and extra food, water and clothes. Every one of them appears in the checklist above, so ticking it covers both.
Turn this checklist into a reusable kit
A paper checklist starts from zero every trip. In GearPulse, the free iPhone app for hikers, you enter your gear once and reuse it.
- Add each item to the Gear tab with its category, quantity and weight: by hand, from a photo (AI fills in the card), by listing it out loud, or by importing a LighterPack list.
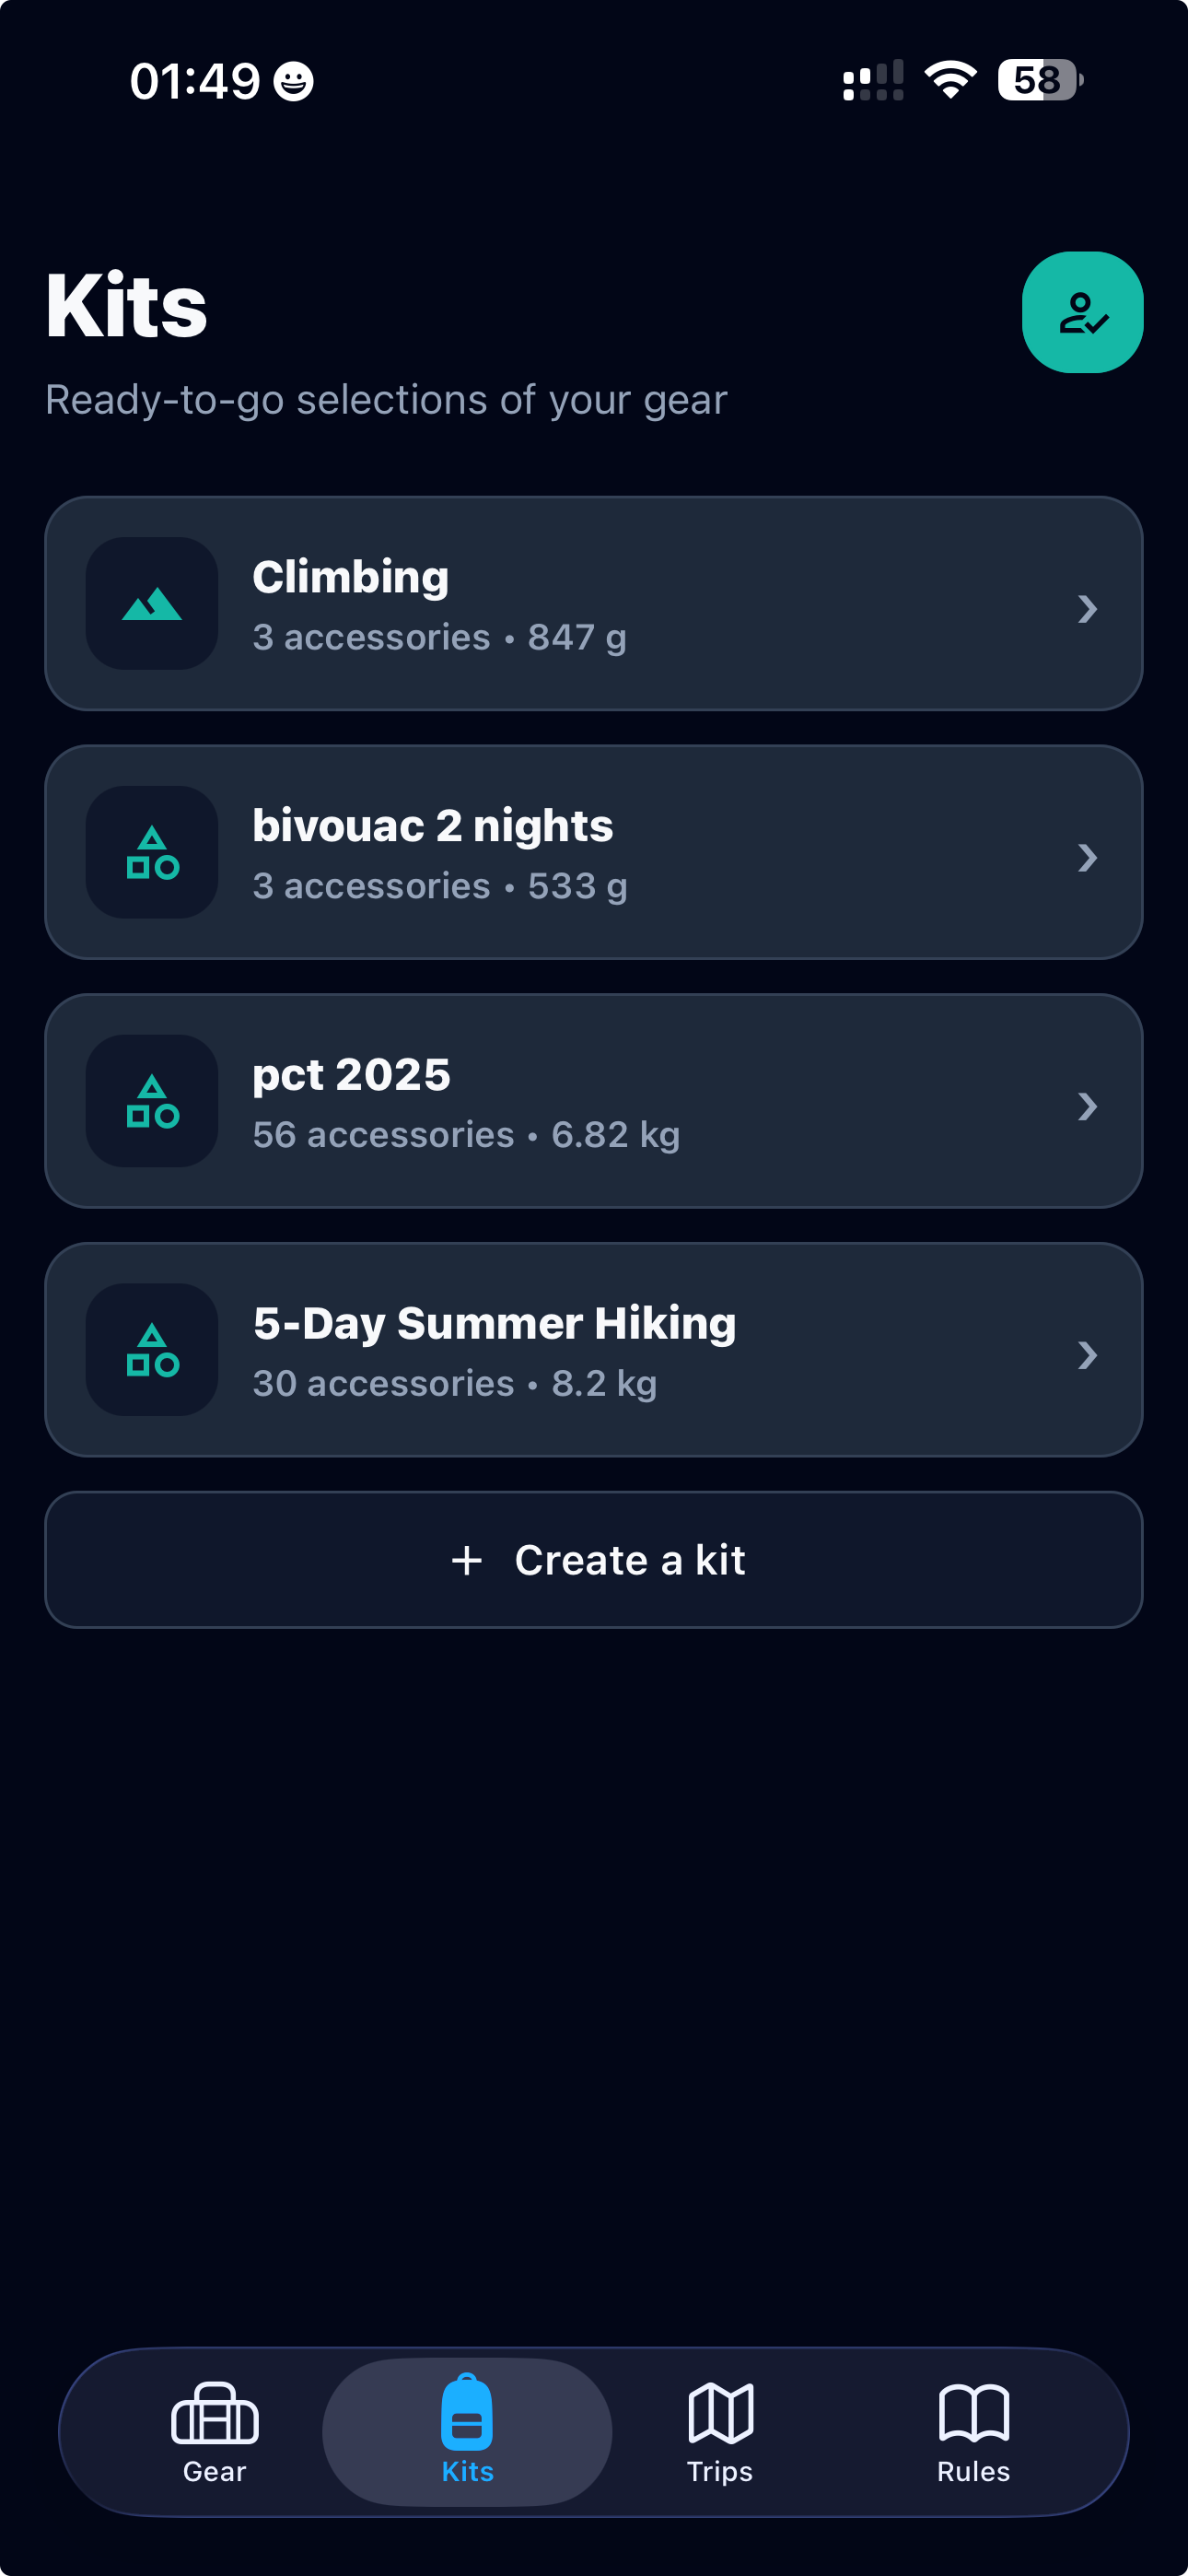
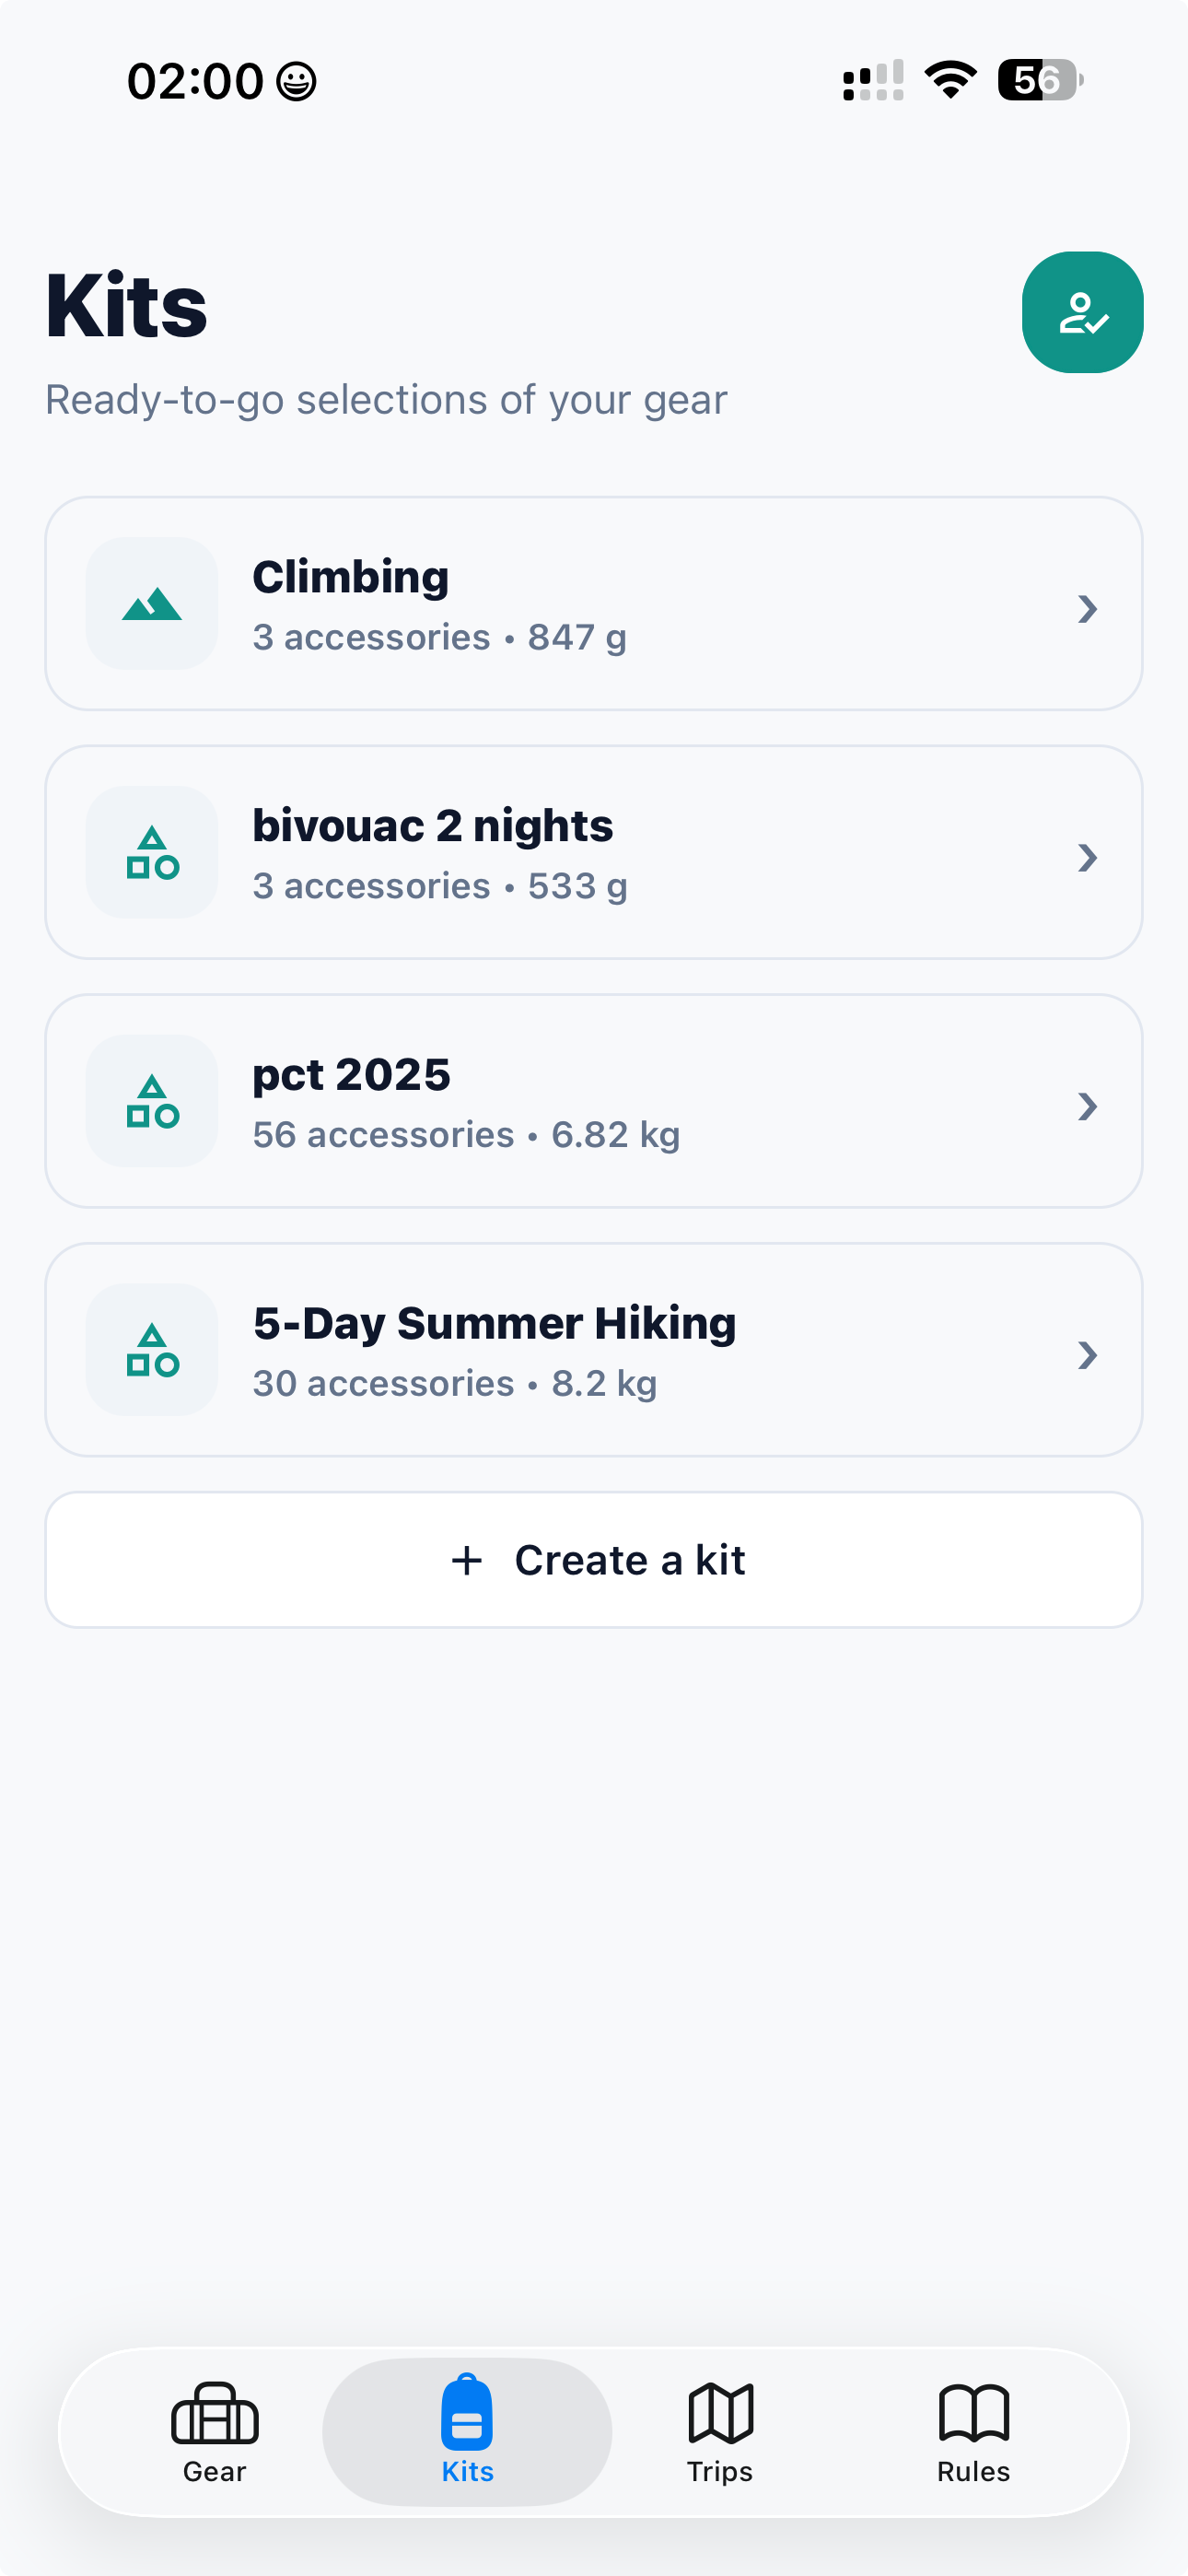
- Group what you take overnight into a kit, such as “Bivouac”. The kit shows its weight by category and keeps apart what you wear and what gets used up.
- Create an outing: GearPulse fetches the forecast from a GPX file or your location, and builds the packing list from your kits and your rules, such as gloves when the night will be cold.
- Tick items off as they go into the pack, then close the bag.
- Back home, note what went unused and what was missing. The next outing takes it into account, and tells you why.
Your gear, kits and bag live on your phone, so the list is there without signal, and GearPulse works without an account.